Create Self Signed Certificate OpenSSL: A DevOps Guide
When you're deep in a development sprint, the last thing you want is to get bogged down by security red tape. Securing internal services can't be an afterthought, but dealing with public certificate authorities for dev and staging is a pain. This is where OpenSSL becomes a developer's best friend. Learning to create self-signed certificates is a core skill for quickly enabling TLS/SSL encryption in your non-production environments, all without the cost and complexity of a public CA. In essence, you become your own certificate authority for all your internal needs.
Ready to stop overspending on idle cloud resources? With Server Scheduler, you can easily automate start/stop schedules for your AWS EC2 and RDS instances, cutting your cloud bill by up to 70%. Start saving with Server Scheduler.
Contents
Ready to Slash Your AWS Costs?
Stop paying for idle resources. Server Scheduler automatically turns off your non-production servers when you're not using them.
Why DevOps Teams Use Self Signed Certificates
Public certificates are absolutely essential for production services that face the outside world, but for internal or pre-production environments, they often introduce unnecessary friction and cost. DevOps and platform engineers are constantly spinning up internal APIs, databases, and microservices on instances that never see public internet traffic. Encrypting the communication between these services is non-negotiable, but waiting for a public Certificate Authority (CA) is a non-starter in fast-paced development cycles. This is where the power to create self signed certificate openssl commands comes into play, offering a pragmatic solution that gives modern engineering teams speed, cost-efficiency, and total control.
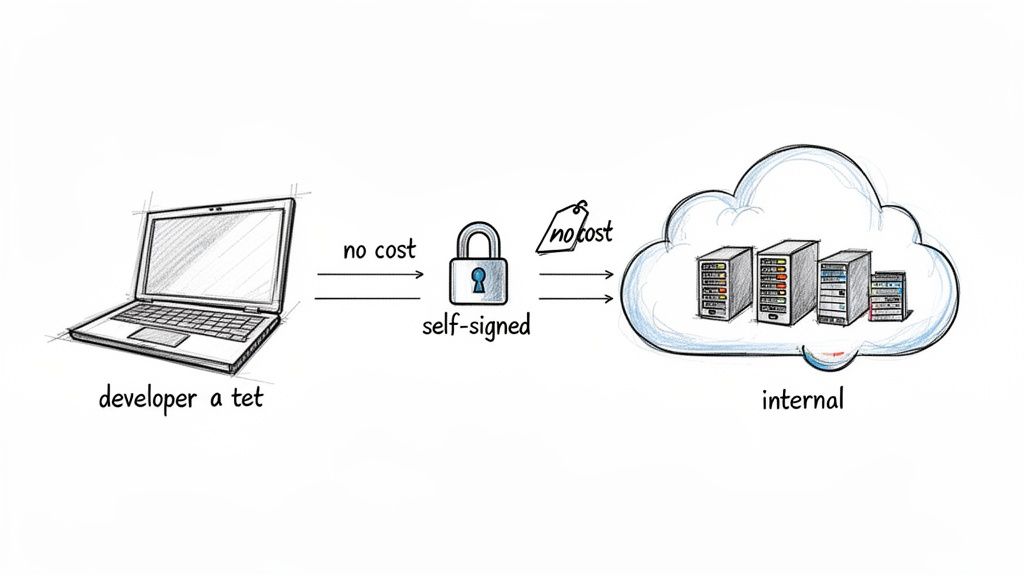
This approach aligns perfectly with infrastructure as code and agile development. You can generate a certificate instantly without waiting for external validation, which is a massive win for automated pipelines and temporary testing environments. Since they are completely free, you can stop spending money on public CA certificates for the dozens, or even hundreds, of internal services that don't need them. Furthermore, you own the entire certificate lifecycle, allowing you to set expiration dates, choose key algorithms, and add necessary extensions like Subject Alternative Names (SANs). This level of control is crucial for maintaining a secure and efficient workflow, a core principle of DevOps automation.
By mastering OpenSSL for internal certificates, you remove security as a bottleneck. It allows developers to build securely from the ground up, ensuring that even pre-production traffic is encrypted and protected from snooping.
How to Generate a Basic Self Signed Certificate
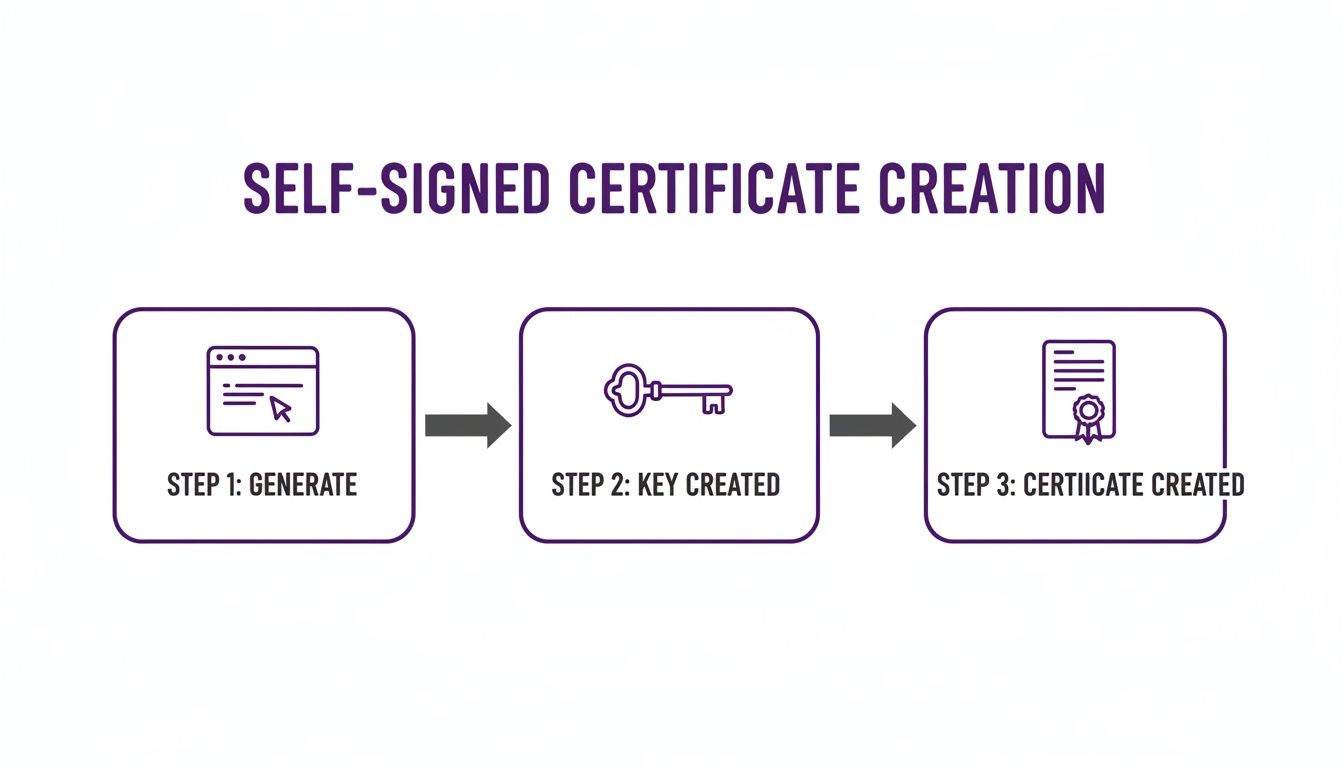
Getting a self-signed certificate up and running with OpenSSL is surprisingly quick. The most direct route is a single, powerful command that generates a private key and its corresponding public certificate in one go. This method is ideal for securing a local development server or an internal API where broader trust isn't a requirement. The command is built around openssl req -x509, which tells OpenSSL to create a certificate signing request (req) and then immediately self-sign it (-x509), bypassing the need for an external CA.
To craft the command, you need a few essential flags. The -newkey rsa:4096 flag instructs OpenSSL to generate a fresh 4096-bit RSA private key, a strong standard for modern security. You must also specify output files using -keyout server.key for the private key and -out server.crt for the public certificate. Finally, the -nodes flag (meaning "no DES") is crucial for automation, as it prevents OpenSSL from encrypting the private key with a passphrase, allowing it to be used in scripts without interactive input. When you run the command, you'll be prompted to enter details for the certificate's Distinguished Name (DN), where the most critical field is the Common Name (CN), which should match the server's hostname (e.g., dev.internal.api or localhost).
Key OpenSSL Generation Command Flags Explained
| Flag | Purpose | Example Usage |
|---|---|---|
-x509 |
Creates a self-signed certificate instead of a request. | openssl req -x509 |
-newkey |
Generates a new private key along with the certificate. | -newkey rsa:4096 |
-keyout |
Specifies the output file for the private key. | -keyout private.key |
-out |
Specifies the output file for the certificate. | -out certificate.crt |
-days |
Sets the validity period of the certificate in days. | -days 365 |
-nodes |
No DES: skips encrypting the private key (no passphrase). | -nodes |
-subj |
Provides the subject information directly, skipping prompts. | -subj "/CN=myserver.com" |
Putting It All Together Here’s the full command with all the pieces combined. You can copy this and tweak it for your own needs.
openssl req -x509 -newkey rsa:4096 -keyout server.key -out server.crt -sha256 -days 365 -nodes -subj "/C=US/ST=California/L=SanFrancisco/O=MyOrg/CN=localhost"
This command will leave you with two files: server.key (your private key) and server.crt (your public certificate), valid for a full year. You're now ready to configure TLS on your service. If you're tackling other common sysadmin jobs, our guide on how to install software in Linux might be a useful next step.
Building a Local Certificate Authority for Scalable Trust
Generating a single, one-off certificate is fine for a quick test, but it doesn't scale. When managing dozens of internal microservices, configuring every client to trust each new certificate individually becomes a logistical nightmare. A much better, more professional approach is to create your own local Certificate Authority (CA). This transforms one root certificate into the single source of trust for your entire private network, mirroring the Public Key Infrastructure (PKI) that powers the public internet. This principle of centralized control is fundamental to effective automated infrastructure management.
The process involves two main stages: creating the CA and then using it to issue certificates. First, you generate a powerful root key and a long-lived root certificate, which must be protected securely. This root becomes the only certificate your clients need to trust. Then, for each internal service, you generate a new key pair and a Certificate Signing Request (CSR). You use your CA's private key to sign the CSR, which produces a new, trusted certificate for that specific service. The biggest advantage of this model is centralized trust management. Instead of distributing and trusting dozens of individual certificates, you only need to install the CA's root certificate on your client machines or in your application trust stores once.
This approach dramatically simplifies certificate rotation and revocation. If a service's certificate is compromised, you can revoke it at the CA level and issue a new one without re-configuring every client.
Using Subject Alternative Names for Modern Compatibility
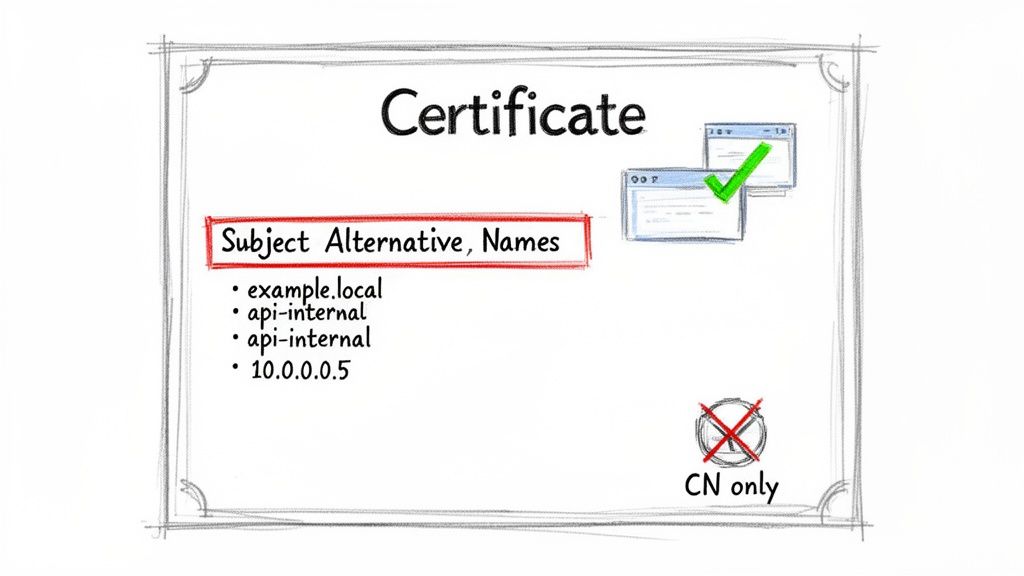
In the past, certificate validation relied almost exclusively on the Common Name (CN) field. However, this legacy approach is now obsolete. Modern clients, browsers, and platforms like Kubernetes have deprecated CN validation in favor of a more flexible extension: Subject Alternative Names (SANs). Relying only on the CN today will inevitably lead to validation failures and "certificate name mismatch" errors. SANs allow a single certificate to secure multiple hostnames and IP addresses, which is essential for distributed systems where a service might be reachable through various names.
 Server Scheduler helps DevOps teams slash cloud costs by scheduling AWS resources like EC2 and RDS instances, turning them off when they're not needed.
Creating the OpenSSL Configuration File
The configuration file is a plain text file with sections defined by brackets. For our purpose, we need to define the certificate's distinguished name details and, most importantly, a dedicated section for the SAN entries. This is where you'll list every single DNS name and IP address the certificate should cover. You can then point to this file during certificate creation using the -extfile and -extensions flags, which instruct OpenSSL to incorporate the SAN details. Getting configurations right is a core skill for any engineer, and if you work with web servers, you might also find our guide on how to test an NGINX config useful.
The
-extfileflag is the key to unlocking modern features in OpenSSL certificates. It transforms the generation process from a simple interactive prompt into a powerful, configuration-driven workflow that produces compliant and versatile certificates.
How to Package and Deploy Your Certificates
Generating certificates is only half the battle; they are useless until properly packaged and deployed. Different platforms have specific format requirements, so knowing how to convert your OpenSSL assets is a crucial skill. A solid deployment and maintenance strategy is a key part of good security configuration management. Two of the most common formats you will encounter are PKCS#12 (.p12 or .pfx) and the Java Keystore (JKS).
The PKCS#12 format is a convenient, all-in-one archive file that bundles a private key with its public certificate, commonly required by Windows-based systems and many Java applications. You can create one easily using openssl pkcs12 -export, which wraps your .crt and .key files into a single, password-protected .p12 file. For applications running on the Java Virtual Machine (JVM), you will almost certainly need to import your certificate into a Java Keystore (JKS) using the keytool utility that ships with the JDK. The easiest path is often to import the PKCS#12 bundle directly into a new keystore, which translates the bundle into a JKS file your Java application can use.
Common Questions About OpenSSL Certificates
When you first start to create self signed certificate openssl assets, many questions naturally arise. From understanding their lifecycle to deciding which type fits your project, getting clear answers is key to using them effectively in your development environments. A common query is how to renew a self-signed certificate. Unlike public certificates, they don't "renew" in the traditional sense. Instead, you generate a new certificate with a new expiration date using the same original private key. If you kept the original Certificate Signing Request (.csr), you can simply sign it again for a fresh validity period.
Another frequent question is when to use a local CA instead of a simple self-signed certificate. The choice depends on scale and trust. A single self-signed certificate is perfect for quick, one-off jobs, like securing a local development server. However, once you start managing multiple internal services that need to trust each other, a local CA is the superior solution. By establishing your own root of trust, any certificate you issue is automatically trusted across your internal network, simplifying deployment and enhancing security architecture.
Related Articles
- A Guide to DevOps Automation
- How to Build and Configure a Proxy Server
- Essential Cloud Infrastructure Automation Tools