A Developer's Guide to Test NGINX Config Files Flawlessly
To test an NGINX config, your first and most important command is nginx -t. This simple but powerful tool runs a full syntax check on your configuration files, catching structural errors before you reload the service. It’s the single best way to prevent easily avoidable downtime and is the foundation of a reliable server management strategy. By making this check a mandatory step, you transform a potentially risky action into a controlled, predictable process.
Ready to move beyond basic syntax checks and build a rock-solid NGINX deployment strategy? Server Scheduler can help you integrate these essential validation steps into a more robust, reliable workflow. Learn how to transform configuration management from a source of anxiety into a controlled, predictable process with automated infrastructure management.
Contents
Ready to Slash Your AWS Costs?
Stop paying for idle resources. Server Scheduler automatically turns off your non-production servers when you're not using them.
Why Rigorous NGINX Testing Is Non-Negotiable
We’ve all been there—that heart-stopping moment after tweaking a live NGINX configuration. A simple typo, a missing semicolon, or a misplaced bracket can bring an entire production server to its knees. This is why we need to stop thinking of testing as an optional chore. It’s a fundamental practice for guaranteeing uptime, performance, and security. A disciplined approach to testing ensures that changes are deployed with confidence, not hope.

As your infrastructure grows, just "winging it" with manual checks becomes incredibly risky. A configuration that works perfectly on a single staging server might fail spectacularly in a distributed environment because of subtle differences in dependencies or file permissions. A single error can create a domino effect, impacting user experience, tanking conversions, and hurting the business. This is where syntax checks and dry runs become your first and most critical line of defense. The goal isn't just to write a config that works; it's to deploy changes with absolute confidence. A proper testing workflow eliminates guesswork and builds trust in your infrastructure, ensuring every reload is a safe one.
Pro Tip: Before diving into deeper techniques, master the core commands. They are the building blocks of any solid NGINX validation process.
| Command | Purpose | When to Use |
|---|---|---|
nginx -t |
Checks the syntax of all NGINX configuration files for errors. | Before every single reload or restart to prevent service failure. |
nginx -T |
Dumps the entire, fully merged configuration to standard output. | Essential for debugging complex include statements and verifying the final config. |
nginx -s reload |
Sends a signal to the master process to gracefully reload the configuration. | Only after a successful nginx -t test to apply changes without downtime. |
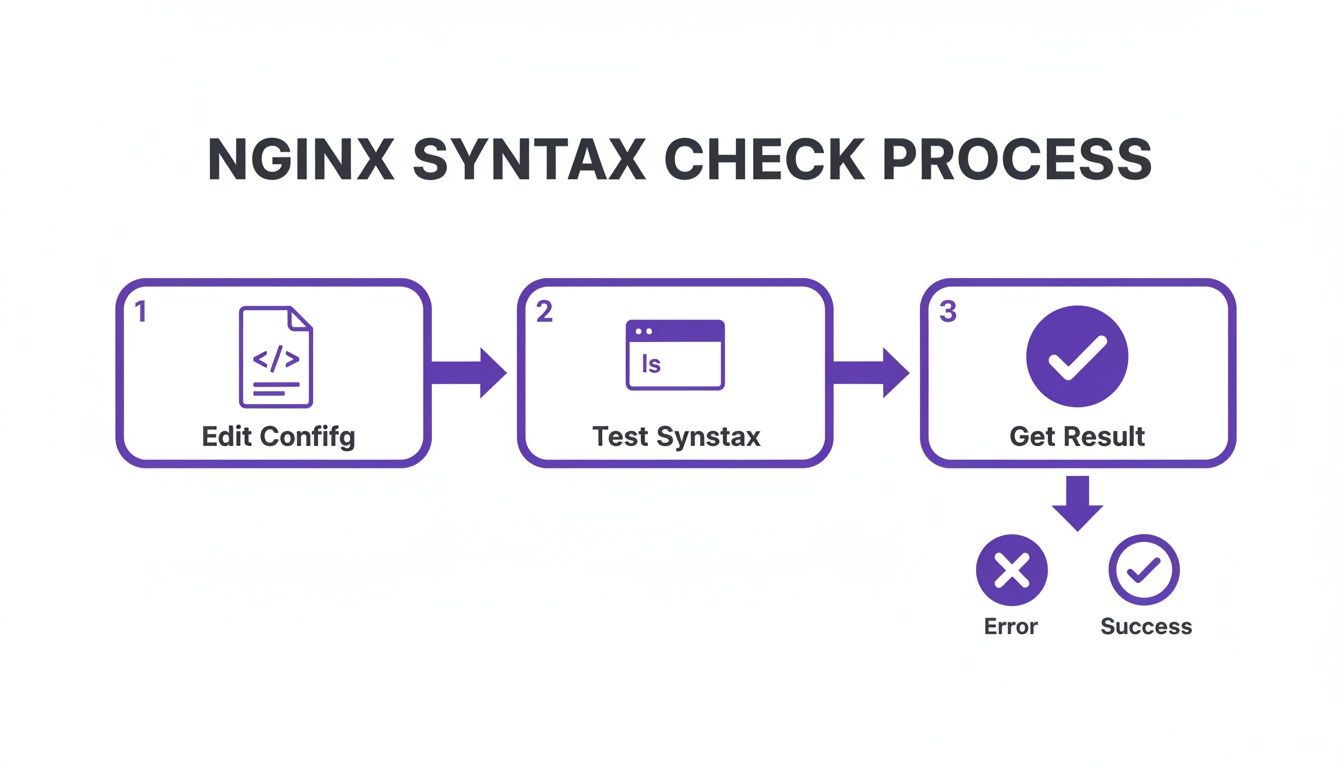
Mastering the Fundamentals of Syntax Checking
Before you even think about reloading NGINX, there’s one command that should be pure muscle memory: nginx -t. This is your first line of defense, a quick sanity check that scans your configuration files for any glaring structural problems before they have a chance to take down your service. Think of it like this: just as a developer would use a static code analyzer to find bugs in their code, nginx -t does the same for your infrastructure. It catches the small stuff—a missing semicolon, a misplaced bracket, an invalid directive—that can have disastrous consequences.
The output from nginx -t is refreshingly direct. A successful check gives you a clean bill of health and the confidence to move forward. When it fails, the details it provides are pure gold. It won't just tell you there's a problem; it will pinpoint the exact file and line number where the error lives, along with a hint about what's wrong. This specificity is what cuts troubleshooting time from minutes (or hours) down to seconds. A much safer, saner approach than editing live is to work on a separate staging file first. The -c flag lets you point nginx -t at any config file, allowing you to validate a new configuration without ever touching the live server file. For more server admin tips, see our guide on how to install software in Linux.
Simulating Real-World Scenarios with Dry Runs
A successful syntax check with nginx -t is a good first step, but it’s really only telling you half the story. Syntactically perfect configurations can still fail catastrophically during a reload, triggering downtime. This is why adopting a "dry run" mentality is so crucial—it’s the next level of validation that simulates how NGINX will actually process your changes. This approach moves beyond simple grammar checks to catch deeper, more subtle issues. The nginx -t command is excellent at its job, but that job has a very specific scope. It confirms your directives are spelled correctly and your curly braces all match up. What it doesn't do is try to bind to ports, access file paths, or resolve domain names.
This is a critical distinction. It means several common problems can easily slip through a basic syntax check, such as a server block trying to listen on a port already in use. The syntax check will pass, but nginx -s reload will fail. Modern NGINX setups also use include directives for modular configurations. A typo in an include path will pass a syntax check, but NGINX won't load the intended configuration. This is where nginx -T becomes your best friend. It performs a more thorough dry run by dumping the entire, fully resolved configuration to your terminal. This shows you exactly what NGINX sees after it pieces together all your include files, which is invaluable when you need to build a proxy server or manage complex setups.
Validating Live Behavior with Runtime Verification
Okay, your configuration passed the syntax check and the dry run didn't throw any errors. It's live now. But is it actually doing what you want it to? This is the moment of truth, where we move from theory to practice and verify the server's real-world behavior. A deployment isn't finished until you've seen it work with your own eyes. This final step is what separates hoping it works from knowing it works. My tool of choice for this job is curl, a ridiculously powerful command-line utility for making HTTP requests and picking apart the responses.
One of the most frequent checks I run is to make sure a redirect is working correctly—like the classic rule to push all HTTP traffic to HTTPS. A quick curl -I yourdomain.com command tells you everything. Look for an HTTP 301 Moved Permanently status code, and double-check that the Location header points to the correct HTTPS URL. It's a simple, fast way to test NGINX config behavior without even opening a browser. Similarly, with security being non-negotiable, you must confirm NGINX is serving the right SSL/TLS certificate. Running curl -v yourdomain.com gives you a complete rundown of the SSL handshake, letting you immediately confirm the correct certificate is deployed. If you're struggling with performance after a config change, our guide on analyzing CPU utilization in Linux can help.
Automating NGINX Config Testing in CI/CD Pipelines
Manual checks are great, but they just don't scale. As your team grows and you're pushing out changes faster, just hoping that every developer remembers to run nginx -t becomes a real gamble. This is where automation saves the day. Integrating NGINX config tests directly into your CI/CD pipeline is a huge leap forward for any team that treats its infrastructure as code. This simple shift in your workflow stops broken configurations from ever hitting your main branch, let alone making their way to production. You’re essentially setting up an automated quality gate that every single change has to pass through.
The idea is simple but powerful. For every pull request that touches a .conf file, the pipeline automatically spins up a temporary environment, grabs the code, and runs an nginx -t syntax check. If that check fails, the whole pipeline fails, blocking the merge. It's an immediate feedback loop that catches mistakes before they become a problem. This moves config validation from a personal responsibility to a systemic safeguard. To learn more, it helps to understand What is a CI/CD Pipeline and explore essential cloud infrastructure automation tools.
NGINX Config Testing: Your Questions Answered
As you get deeper into managing NGINX, you're bound to run into some head-scratchers and tricky scenarios. This section tackles the most common questions that pop up when you need to test an NGINX config, with clear answers pulled from real-world experience.
What's the Difference Between nginx -t and nginx -s reload?
Think of nginx -t as your safety check. It's a passive "proofread" of your configuration files. On the other hand, nginx -s reload is an active command that tells the live NGINX master process to gracefully load the new configuration. Never run reload without a successful test first.
How Do I Test a Specific Server Block?
To isolate a single virtual host's config, use the -c flag to point NGINX to a specific configuration file. A great practical approach is to create a temporary, stripped-down nginx.conf file containing the bare minimum directives and the one server block you want to validate.
Why Do My Changes Not Apply After a Successful Reload?
Nine times out of ten, the culprit is either editing the wrong file (check your include paths and symlinks) or browser caching. Always test changes in a private browsing window or, even better, use curl from the command line to get a raw, unfiltered response straight from the server.
Can I Test NGINX Config Files Without Root Privileges?
Yes, absolutely. Running nginx -t does not require root permissions as it only reads the configuration files. This is fantastic for security and allows developers without sudo access to validate their changes.
Related Articles
- Simulating Real-World Scenarios with Dry Runs
- Automating NGINX Config Testing in CI/CD Pipelines
-
Analyzing CPU Utilization in Linux After a Config Change
Ready to stop manually managing server schedules and start saving on your cloud bill? With Server Scheduler, you can automate start/stop times for your AWS resources with a simple, visual interface—no scripts needed. Start your free trial and see how much you can save at https://serverscheduler.com.