How to Expand a Partition in Ubuntu Safely

Running out of disk space on your Ubuntu system is a common problem, whether you're managing a personal project or a production server. The solution typically involves a three-step process: first, understanding your current disk layout; second, expanding the underlying partition; and finally, resizing the filesystem to utilize the new space. The specific commands and tools you'll need depend heavily on your setup, particularly whether you're using standard partitions or the more flexible Logical Volume Management (LVM) system. This guide will walk you through the process for both scenarios, ensuring you can expand your storage safely and efficiently.
Are your cloud servers costing too much? Server Scheduler can help you automate start/stop schedules and right-size your instances, cutting cloud bills by up to 70%. Start optimizing your cloud spend today.
Contents
Ready to Slash Your AWS Costs?
Stop paying for idle resources. Server Scheduler automatically turns off your non-production servers when you're not using them.
Understanding Your Current Disk Layout
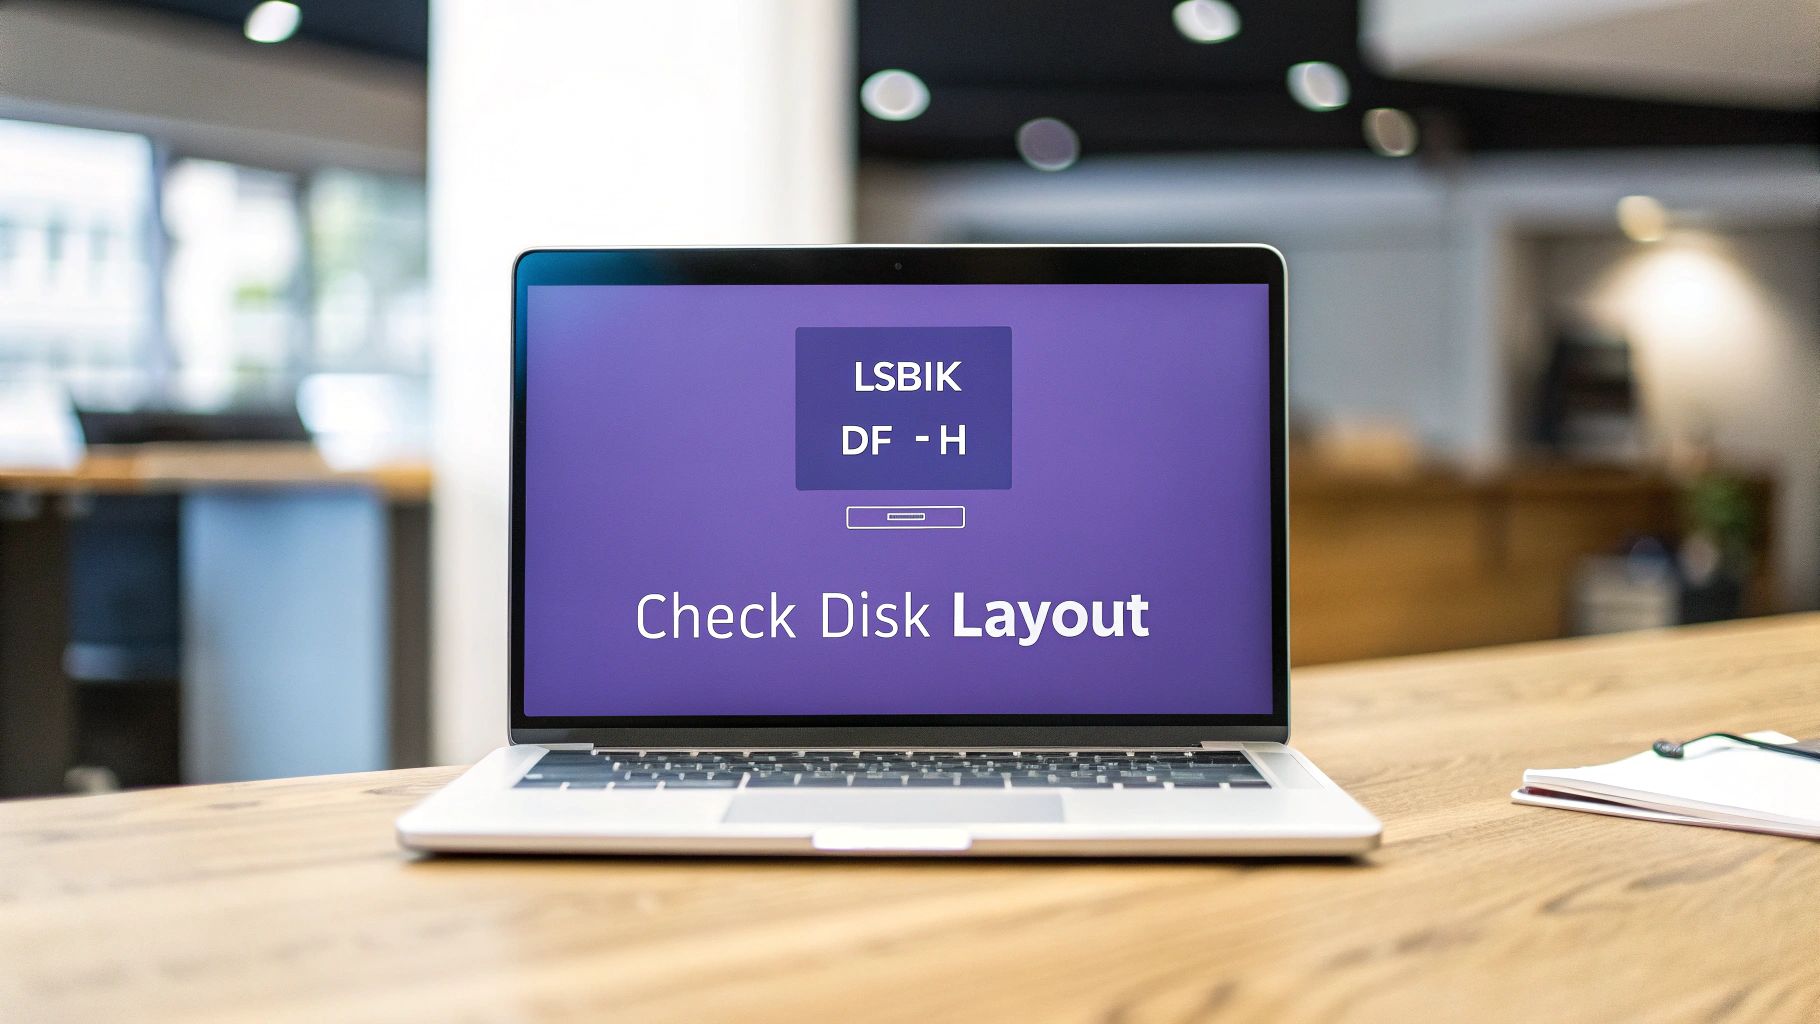
Before you attempt to modify any partitions, it is absolutely critical to understand your current disk configuration. Jumping into resizing commands without a clear map of your storage is a recipe for data loss. This initial investigation phase is all about gathering the necessary information to choose the right procedure and prevent catastrophic errors. Running a few simple commands will provide a complete picture of your disk structure, including the partition scheme, filesystem types (like ext4 or XFS), and mount points.
The three most essential commands for this reconnaissance are lsblk, df -h, and fdisk -l. The lsblk command lists all block devices, giving you a hierarchical view of disks and their partitions, which is the quickest way to identify an LVM setup. Next, df -h reports filesystem disk space usage in a human-readable format, showing you exactly how much space is used and available on your mounted filesystems. Finally, fdisk -l provides detailed information about the partition table for a specific disk. Taking the time to analyze the output from these tools will arm you with the knowledge needed to proceed with confidence.
Important: Before making any changes to your partitions, creating a complete backup is non-negotiable. Partition resizing is an inherently risky operation, and a single mistake can lead to irreversible data loss. A recent snapshot or full backup is your only safety net. If you need guidance, refer to our comprehensive article on backing up your Linux environment.
After your initial checks, you will know whether you are working with standard partitions or Logical Volume Management (LVM). Standard partitions, such as /dev/sda1, are created directly on the physical disk and offer a simple but less flexible layout. LVM, on the other hand, provides an abstraction layer that pools physical storage into "Volume Groups," from which you can create highly flexible "Logical Volumes." Most modern server installations use LVM for its versatility, but the expansion process differs significantly from that of standard partitions. For those seeking more control in a hosted environment, Virtual Private Server (VPS) hosting can offer a flexible alternative, although manual partition resizing on a VPS can still be a time-consuming task for the uninitiated.
 Expanding a Standard (Non-LVM) Partition
If your disk inspection reveals a standard partition layout, the expansion process is relatively direct. This setup is quite common, especially since many users opt for the simple 'Erase disk and install' option during Ubuntu setup, which according to electroiq.com, accounts for a significant portion of installations. The primary goal is to extend an existing partition to claim the unallocated space you've added from your cloud provider or hypervisor. For this, we will use the growpart and resize2fs command-line utilities.
The first and most crucial step is to correctly identify the target disk and partition number. A mistake here can be disastrous, so double-check your findings from the lsblk command. You are typically looking for the root partition, mounted at /, which might appear as /dev/sda1 or /dev/vda2. Once you have identified the device (e.g., /dev/sda) and the partition number (e.g., 1), you can use growpart. This command non-destructively extends the partition's boundary to fill adjacent free space. The syntax is sudo growpart /dev/sda 1, where the disk and partition number are separate arguments.
After successfully growing the partition, you must then resize the filesystem that resides within it. The partition is merely a container; the filesystem inside it is still at its original size. For ext4 filesystems, which are standard for Ubuntu, the resize2fs command does the job perfectly. One of its greatest advantages is its ability to perform an "online" resize, meaning you can run it on a mounted root partition without requiring a reboot or system downtime. The command sudo resize2fs /dev/sda1 will automatically detect the new partition size and expand the filesystem to fill it. You can verify the result with df -h, which should now show the increased total disk space. Managing cloud resources like this is a routine task; for AWS users, our guide on how to schedule EC2 instance resizes can help automate similar capacity adjustments.
Expanding an LVM-Based Partition
Expanding storage on a system that uses Logical Volume Management (LVM) involves a few more steps than with standard partitions, but it follows a clear, logical sequence. LVM's flexibility comes from its layered architecture, and to expand a volume, you must pass the new space up through each layer: the Physical Volume (PV), the Volume Group (VG), and finally the Logical Volume (LV). While it may seem complex, each step is straightforward and builds upon the last.
First, you must expand the underlying physical partition that serves as the LVM Physical Volume. Just as with a standard partition, the growpart command is the right tool for this. For example, if your LVM is on partition /dev/sda3, you would run sudo growpart /dev/sda 3. Once the partition is enlarged, you need to inform LVM about the change by running sudo pvresize /dev/sda3. This command updates LVM's metadata to recognize the new capacity of the Physical Volume.
With the PV and its parent Volume Group now aware of the additional space, you can extend the Logical Volume where your filesystem resides. The lvextend command handles this. To allocate all available free space in the VG to your LV, you can use the -l +100%FREE flag, like so: sudo lvextend -l +100%FREE /dev/mapper/ubuntu--vg-ubuntu--lv. The final step is to resize the filesystem itself. For an ext4 filesystem, use sudo resize2fs /dev/mapper/ubuntu--vg-ubuntu--lv. If you are using XFS, the command is sudo xfs_growfs /dev/mapper/ubuntu--vg-ubuntu--lv. After this, your filesystem will have access to all the newly allocated space. Automating these kinds of adjustments is key in cloud environments; our articles on EC2 instance schedules explore this topic further.

Troubleshooting and Best Practices
Even with careful preparation, disk partition modifications can sometimes encounter issues. Being prepared for common problems can save you from significant stress and potential data loss. The absolute first rule is to have a verified backup or snapshot before you begin. It is your ultimate safety net if something goes wrong. Tools like Partimage can create an image of your partition, providing a reliable restore point.
One common problem is the kernel failing to recognize the new partition size after a tool like parted or fdisk has been used. The command lsblk might still show the old size. While a reboot almost always resolves this, the partprobe command can often persuade the kernel to re-read the partition table without downtime. Another frequent issue is an error from resize2fs indicating problems with the filesystem. This tool will refuse to operate on a corrupted filesystem. The solution is to unmount the partition and run fsck -f to force a check and repair any inconsistencies before attempting the resize again.
| Error Message / Symptom | Likely Cause | Recommended Solution |
|---|---|---|
partition # is currently in use |
The partition is mounted or a process is using it. | Unmount the partition using umount /dev/sdX#. If that fails, find and kill the process using lsof /mount/point. |
The kernel still uses the old table |
The kernel hasn't re-read the partition table after a change. | Try running partprobe to force a refresh. If that doesn't work, a system reboot (sudo reboot) will be necessary. |
resize2fs: Bad magic number in super-block |
The filesystem is corrupt, or you're using the wrong tool for the filesystem type (e.g., resize2fs on an XFS volume). |
First, run fsck on the unmounted filesystem. If it's XFS, use xfs_growfs instead. Always verify the filesystem type with lsblk -f. |
After you believe the expansion is complete, it is vital to verify that everything is working correctly. Run df -h to confirm the filesystem size has increased. Check lsblk or findmnt to ensure all partitions are mounted as expected. Finally, review system logs for any new disk-related errors. Our guide on how to grep for multiple patterns can be very helpful for quickly searching through log files.
Frequently Asked Questions
When you need to expand a partition in Ubuntu, several common questions often arise. Addressing these can help clarify the process and prevent common pitfalls.
One of the most frequent queries is whether the root partition can be expanded on a live system. For most modern setups using an ext4 filesystem, the answer is yes. You can use growpart and resize2fs on a running server without requiring a reboot, which is a major advantage for production environments where downtime is costly. However, the golden rule still applies: always create a backup or snapshot before starting, as the operation is not entirely without risk.
Another point of confusion is the difference between expanding a partition and resizing a filesystem. These are two distinct but equally important steps. Expanding the partition (with growpart or fdisk) tells the operating system's partition table that the container is larger. Resizing the filesystem (with resize2fs or xfs_growfs) instructs the filesystem inside that container to grow and occupy the newly available space. Forgetting the second step is a common mistake that leaves you wondering why the disk space hasn't increased.
Finally, users often encounter situations where a partition cannot be expanded because another partition is directly adjacent to it, blocking its growth. For example, you cannot expand /dev/sda1 if /dev/sda2 immediately follows it with no unallocated space in between. To resolve this, you must move or delete the obstructing partition. This is a much riskier operation that typically requires booting from a live USB and using a graphical tool like GParted to visually manipulate the partitions. A verified, restorable backup is absolutely essential before attempting such a task.