A Guide to Install MSI Silently
To install an MSI silently, you'll use the command-line tool msiexec.exe with a few specific flags. The most common one you'll see is /qn, which tells the installer to run with no user interface at all—completely silent. This simple command is the key to automating software deployments across countless machines without anyone needing to click a single button.
Ready to schedule your server operations without writing a single script? See how Server Scheduler’s point-and-click interface can automate your infrastructure tasks and cut cloud costs by up to 70%.
Contents
Ready to Slash Your AWS Costs?
Stop paying for idle resources. Server Scheduler automatically turns off your non-production servers when you're not using them.
Why Silent MSI Installation Is a Game Changer for IT
If you've ever faced a software rollout for hundreds—or even thousands—of machines, you know the feeling. Every manual installation is a potential landmine of human error, inconsistent settings, and wasted hours. This is where mastering the silent MSI install goes from a neat trick to an operational superpower for any IT admin. The whole process hinges on msiexec.exe, the engine built into Windows for handling installations. By feeding it command-line switches, you can script every single step of an install, completely bypassing the familiar "Next, Next, Finish" wizard. This level of control is fundamental to modern IT operations and is a core component of effective DevOps automation.

The true value of silent installs is their predictability. You get rid of the variables, which means you drastically cut down on help desk tickets and troubleshooting time from botched software setups.
This isn't some niche tactic; silent installation of MSI packages is a cornerstone of enterprise IT and a key part of many enterprise deployment strategies. In fact, over 78% of Fortune 500 companies rely on silent installation methods for deploying software, and MSI-based installs make up nearly 65% of those automated deployments. It's the go-to approach for a reason: it's reliable, scalable, and built for the enterprise. Ultimately, getting a handle on silent MSI installs frees your team from the drudgery of repetitive tasks, letting them focus on bigger, more strategic projects.
Decoding the Msiexec Command Line
At the heart of every silent MSI install is the msiexec command-line utility. Getting a handle on its syntax is the first real step toward building reliable, automated deployments. Think of it as the language you speak directly to the Windows Installer service, telling it exactly how to behave. For any sysadmin or DevOps engineer, mastering msiexec is a fundamental skill. It’s what turns software deployment from a manual, click-heavy chore into a predictable, scalable process. This command is your key to unlocking true automation in a Windows environment, especially when integrated into more complex workflows. If you're building out broader automations, our guide on how to run PowerShell scripts can provide a solid foundation for scripting your deployments.
The real power of msiexec comes from its flags. The most fundamental switches you'll use are /i for installing a package, /x for uninstalling it, and /p for applying a patch. The magic really happens when you add the "quiet" flags, which control the user interface level and dictate what the end-user sees during the installation. Picking the right one all comes down to your deployment scenario and how much you want users to know.

| Flag | UI Level | Best Use Case |
|---|---|---|
| /qn | No UI | Fully automated, background deployments where no user interaction or awareness is needed. This is the most common choice for enterprise tools like SCCM or Intune. |
| /qb | Basic UI | When you want the user to know something is happening but prevent them from interfering. It shows a simple progress bar but no cancel button. |
| /qr | Reduced UI | Similar to /qb, but it displays a modal dialog at the end of the installation. This is useful for confirming completion without requiring a click. |
For almost any automated scenario, /qn is the gold standard. It guarantees the installation proceeds without any pop-ups, dialog boxes, or progress bars, making it perfect for deploying software without disrupting someone's work. It's the key to a truly hands-off installation.
Customizing Your Installs with Properties and Transforms
True automation isn't just about hiding a progress bar. It's about deploying software that’s pre-configured and ready for your users from the moment it lands. This is where you move beyond a basic silent install and start controlling the application's specific settings. Two powerful tools in the MSI toolkit make this possible: public properties and transforms. Think of public properties as command-line variables you can pass directly to the MSI installer. They're a straightforward way to set common options like the installation directory, license server information, or user details. You'll know you're looking at a property because its name is always in all caps, like INSTALLDIR or LICENSESERVER. By setting these during your msiexec call, you can tailor each deployment on the fly. For example: msiexec /i "OurApp.msi" /qn INSTALLDIR="D:\Applications\Custom".
To find an MSI's available properties, you'll need a tool like Orca, a free utility from the Windows SDK. When you open an MSI file in Orca, you can navigate to the "Property" table to see a list of all the public properties you can tweak. While properties are great for simple changes, MSI Transforms (.mst files) are the heavy-duty solution for complex or repeated customizations. A transform file is a pre-configured answer file that modifies the base MSI installer's behavior.
An MSI Transform acts as an overlay for the original installer. It lets you pre-set dozens of options—from accepting EULAs to disabling desktop shortcuts—without ever touching the source MSI file. This keeps your original installer clean and makes your changes easily portable.
Creating an .mst file usually involves using an MSI editor to step through the installation wizard once, making your desired selections, and saving those choices as a transform. This .mst can then be applied during deployment using the TRANSFORMS property, like so: msiexec /i "OurApp.msi" /qn TRANSFORMS="config.mst". This command tells the Windows Installer to load the MSI and then apply all the modifications stored inside the transform. The end result is a fully customized, completely silent installation.
Mastering Logging for Effortless Troubleshooting
When you run a silent MSI installation, you’re flying blind. The progress bars, confirmation popups, and error dialogs are all gone. This is exactly why robust logging isn't just a nice-to-have; it's the most critical tool in your troubleshooting toolkit. The key to all this insight is the /L switch in your msiexec command. This flag tells the Windows Installer to write down every step it takes. Without a log, a failed install is a total black box. With one, the root cause is usually just a few lines away.
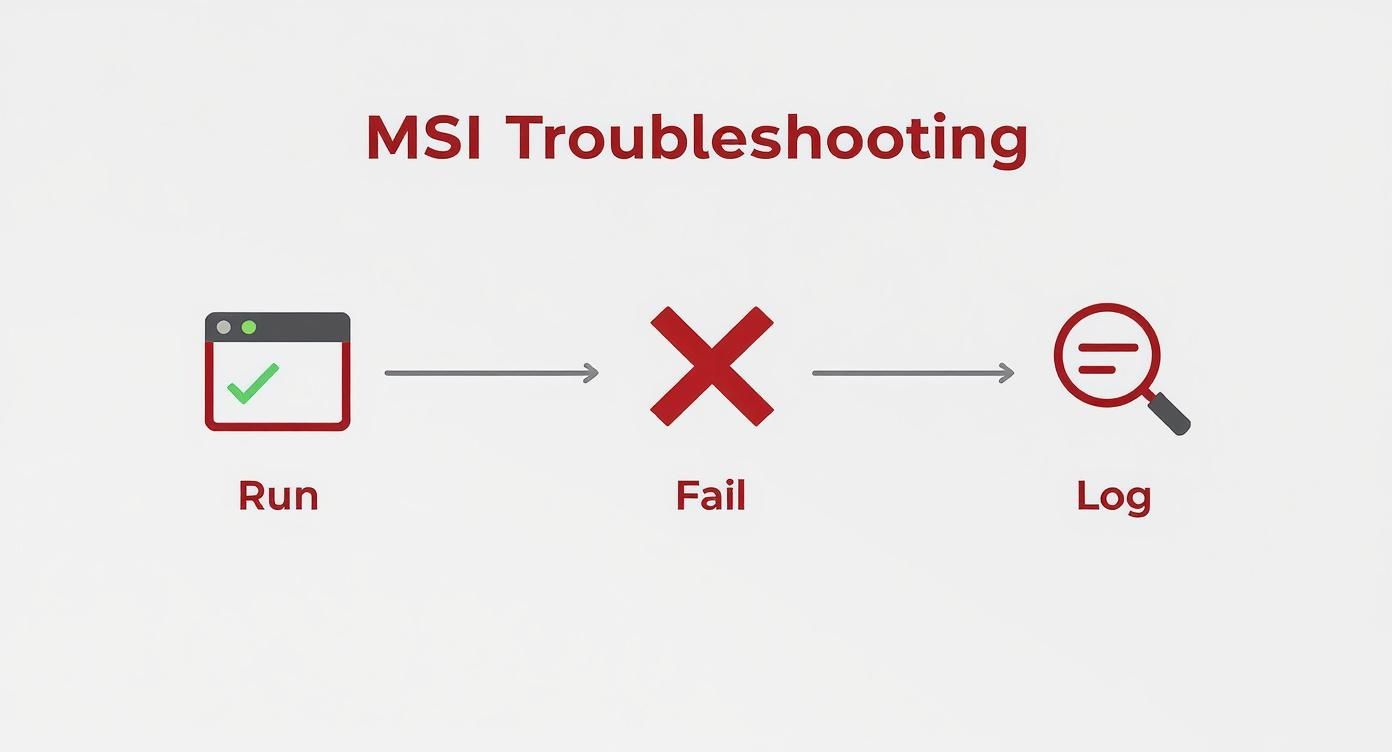
The /L switch isn't a standalone command; you have to tell it what to log. For serious troubleshooting, the best option is *v. The asterisk (*) is a wildcard that turns on all logging types, and the v adds verbose output. This combo gives you the most detailed log possible. A typical command looks like this: msiexec /i "MyApp.msi" /qn /L*v "C:\Logs\install.log". This will install msi silently and dump a comprehensive log file. When dealing with a massive log file, knowing how to efficiently grep multiple patterns can save you a ton of time.
When a silent install fails, your first move should always be to search the log file for the string "Return value 3". This is the Windows Installer's universal signal for a fatal error, and the lines immediately preceding it will almost always tell you the exact cause.
Once you’ve found the problem, document the fix. To keep your team on the same page, building out an effective troubleshooting guide template is a great practice.
| Exit Code | Meaning | Next Steps |
|---|---|---|
| 0 | Success | The installation completed without a hitch. No action needed. |
| 1603 | Fatal Error | A generic but serious failure. Your first step is to open the verbose log file and search for "Return value 3" to find the root cause. |
| 3010 | Success (Reboot Required) | The install was successful, but a reboot is needed to finalize everything. Your script or deployment tool should handle this gracefully. |
Understanding these codes is vital for reliable automation. An exit code of 1603 is your direct signal to start digging into that log file. A 3010, on the other hand, tells your automation tool to schedule a restart.
Deploying MSI Packages with Enterprise Tools
Knowing how to craft the perfect msiexec command is half the battle. The other half is deploying it at scale using enterprise tools. For most, PowerShell is the go-to for wrapping an msiexec command into a smarter script. Using the Start-Process cmdlet, you can execute the installer and capture its exit code, which unlocks intelligent error handling. For instance, you can build a script that runs the installer, waits for it to finish, and then inspects the exit code. If the code is 0, you log success; if it's 1603, you trigger an alert; and if it's 3010, you can schedule a controlled reboot. For recurring tasks, you can even schedule your PowerShell scripts using cron jobs on Windows.
Wrapping your
msiexeccommand in a PowerShell script withStart-Processand solid exit code handling is an absolute best practice. It transforms a simple command into an intelligent, self-diagnosing automation workflow.
In organizations heavily invested in Active Directory, Group Policy Objects (GPOs) are a tried-and-true method for software distribution. Using the "Software Installation" policy, you can assign an MSI package to an Organizational Unit (OU), and when a machine in that OU starts up, it automatically installs the MSI silently in the background. In today's IT landscape, however, tools like Microsoft Endpoint Configuration Manager (SCCM) and Microsoft Intune are the gold standard. Both platforms give you sophisticated ways to install msi silently across a fleet of devices. For those managing a mix of corporate and personal devices, resources for Mastering Intune Mobile Management can offer great insights. Inside these tools, you'll create an "Application," upload your MSI, and specify your installation command. The real power here is the detection method, where SCCM or Intune checks for a file or registry key to confirm the installation was truly successful.
Common Questions About Silent MSI Installs
Even with the best commands, real-world deployments can throw curveballs. One of the most common challenges is controlling when a machine restarts. You can handle this from the command line using the REBOOT property. To force a restart, add REBOOT=Force. To stop a reboot, use REBOOT=ReallySuppress. However, it's almost always better to let your deployment script handle reboots by checking for exit code 3010 (Success, Reboot Required) and scheduling a controlled restart during a maintenance window.
Another common issue is the dreaded error code 1603, the vague "Fatal error during installation" message. This error can mean anything from insufficient permissions to a locked file. The only way to know for sure is to re-run the installation with verbose logging enabled: /L*v "C:\temp\install.log". A quick search in the log for "Return value 3" will usually take you straight to the point of failure.
Finally, understanding the installation context is crucial. A per-user installation only makes the software available for the currently logged-in user. A per-machine installation makes it available to all users on the device. For corporate deployments, per-machine is the goal. You can enforce this by setting the property ALLUSERS=1 in your command line. Enterprise tools like SCCM or Intune typically run installations under the SYSTEM account, which defaults to a per-machine context, helping maintain consistency. In complex situations, knowing how to generate a self-signed certificate with OpenSSL can be a handy skill in your security toolkit.
Related Articles
- Mastering Intune Mobile Management
- Schedule your PowerShell scripts using cron jobs on Windows
- Generate a self-signed certificate with OpenSSL
Ready to stop wrestling with scripts and start automating your server infrastructure the easy way? With Server Scheduler’s visual interface, you can schedule start, stop, and resize operations for your cloud resources, cutting costs by up to 70% without writing a single line of code. Start automating with Server Scheduler today.