A Practical Guide to Safely Resize EC2 Instance Types

Knowing how to resize EC2 instance types is a core skill for anyone managing AWS infrastructure. It's all about scaling your compute resources—CPU, memory, and network capacity—up or down to match what you actually need. The process usually involves a quick stop, a change of instance type, and a restart, making sure you only pay for the resources you're truly using.
Ready to right-size your instances and optimize your cloud spend? Server Scheduler can automate the entire process, cutting your AWS bill by up to 70%. Stop paying for idle resources and start scheduling your savings.
Contents
Ready to Slash Your AWS Costs?
Stop paying for idle resources. Server Scheduler automatically turns off your non-production servers when you're not using them.
Why And When To Resize Your EC2 Instance
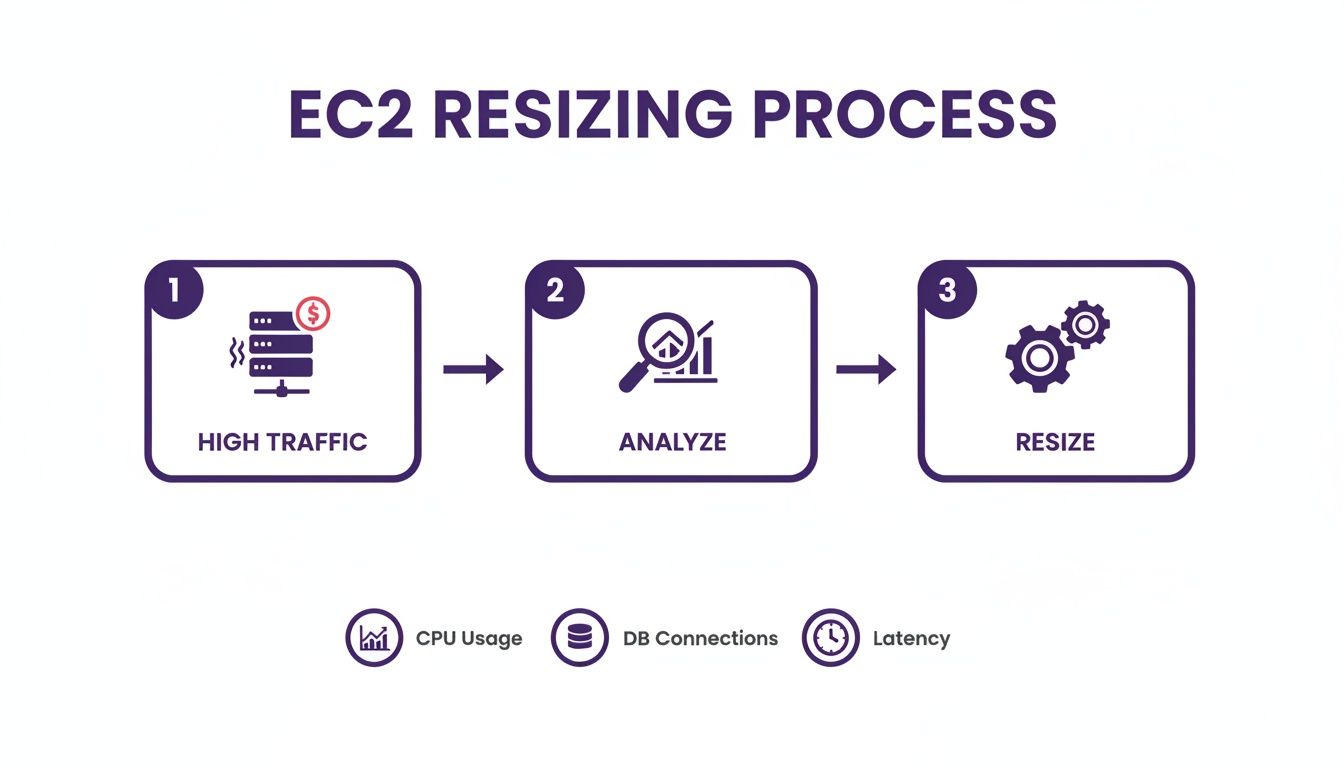
Deciding to resize an EC2 instance isn't just about cutting costs—it's a strategic move to perfectly align your infrastructure with your workload's demands. This practice, often called "right-sizing," isn't a one-and-done task. Think of it as a continuous process of optimization. The goal is to hit that sweet spot between performance and cost, so your applications fly without you burning cash on idle resources.
So, when does it make sense to pull the trigger on a resize? There are several real-world scenarios that might signal it's time for a change. For instance, a startup gearing up for a big product launch might see a traffic surge on the horizon and proactively upgrade from a t3.medium to a c5.large. This simple move can prevent performance bottlenecks that would otherwise tarnish a user's first impression. On the flip side, a data science team might find their instance is constantly hitting memory limits during complex analyses. Swapping to a memory-optimized R-series instance could be the key to unlocking faster processing and deeper insights. A classic case for resizing is preparing for predictable peak load events, like maintaining your site during heavy holiday traffic. These scenarios are perfect candidates for temporary, scheduled scaling.
| Scenario | Key Performance Metric | Business Goal |
|---|---|---|
| Product Launch | High CPU Utilization | Ensure a smooth user experience during a critical traffic spike. |
| Data Processing Job | High Memory Usage | Speed up analytics and prevent jobs from crashing due to OOM errors. |
| End-of-Month Reporting | Low CPU/Memory Usage | Reduce costs by scaling down resources during off-peak periods. |
| Seasonal Traffic Spikes | Network I/O, CPU Load | Handle predictable demand increases without performance degradation. |
The key is to view instance resizing as a core part of your operational strategy, not just a reactive fix. This proactive approach is a fundamental piece of effective cloud financial management. We dive deeper into this philosophy in our guide on FinOps best practices. By regularly checking your performance metrics with tools like AWS Compute Optimizer, you can spot both the money-wasting underutilized instances and the performance-killing overutilized ones. This constant loop of analysis and adjustment ensures your infrastructure evolves right alongside your business, delivering both financial prudence and operational excellence.
Your Pre-Flight Checklist for a Smooth Instance Resize
Trying to resize an EC2 instance without doing your homework is a bit like flying a plane without a pre-flight check. You might get away with it, but you're taking a massive, unnecessary risk. Before you even think about touching a single setting, your absolute first move must be to create a solid rollback point. This means taking either an Amazon EBS snapshot of your root volume or, my personal preference, creating a full Amazon Machine Image (AMI) of the entire instance. An AMI is the whole package—it bundles the snapshot with all the instance's configuration details, giving you a complete, bootable backup you can launch in minutes if things go sideways. Think of it as your safety net.
I've seen situations where a resize fails because of some weird, unforeseen incompatibility, leaving the instance in a non-bootable state. Without an AMI or snapshot, you’re looking at a long, stressful recovery. But with a backup ready to go, the fix is almost trivial. You just terminate the failed instance and launch a new one from your AMI. What could have been a major crisis becomes a minor inconvenience. This simple step also shields you from permission issues that can pop up and throw an "access is denied" error right when you least need it.
Once your backup is safely stored, it’s time to check for compatibility between your current instance and the new one you're targeting. This is where a lot of people trip up. You can't just assume all instance types are interchangeable. You must confirm the virtualization type (almost always HVM for modern instances), architecture (you can't switch from x86 to ARM), and network drivers (your AMI needs ENA support for newer instances). Finally, zoom out and look beyond the instance itself. Check the resource limits tied to your target instance type. For example, moving to a network-optimized instance won't do you any good if your EBS volume type can't push the IOPS you need. It's this kind of holistic check that ensures your newly resized instance actually performs the way you expect.
Resizing an Instance with the AWS Console
For most folks, the AWS Management Console is the simplest way to manually resize an EC2 instance. It gives you a visual, click-by-click path that makes the process feel safe and straightforward, even if you don't spend your days in the command line. This method is perfect for a one-off change.
First, you have to stop your instance. It's absolutely critical to understand the difference between stopping and terminating. Stopping an instance is like shutting down your laptop; the attached EBS root volume and all its data are kept perfectly safe. Terminating, however, is the point of no return. It deletes the root EBS volume by default. Always choose Stop instance from the Instance state menu.
Once your instance shows a stopped state, you're clear to make the change. Head over to your EC2 dashboard, select the stopped instance, and open the Actions menu. From there, navigate to Instance settings and find the option to Change instance type. The console helpfully presents a list of compatible instance types, filtering out anything that doesn't match the architecture or virtualization type, which dramatically lowers the chance of error.

After you pick your new instance type and hit Apply, the change is locked in. All that's left is to bring it back online by selecting Start instance. We cover this part of the process in more detail in our article on how to restart an EC2 instance.
Getting the instance running again isn't the finish line. Now you have to validate that everything is working. Check the Status checks in the EC2 dashboard for two green checkmarks. These confirm that both the underlying AWS hardware and your instance's OS are healthy. Next, confirm your application is actually working by running through key user workflows. Finally, keep a close eye on your Amazon CloudWatch metrics for the next few hours, paying special attention to CPU Utilization and Network I/O to prove your resize accomplished what you set out to do.
Automating Resizing with the CLI and Auto Scaling Groups
For anyone managing more than a handful of servers, resizing instances one-by-one in the console is tedious and prone to human error. When you're dealing with dozens or hundreds of instances, automation is essential to resize EC2 instance fleets programmatically, reliably, and quickly.
Your first step into true automation is almost always the AWS Command Line Interface (CLI). It gives you a direct, scriptable way to run through the same stop, modify, and start sequence you’d perform in the console. You can throw together a simple shell script that takes an instance ID and a new instance type as inputs, removing any chance of missing a step and ensuring the process is executed correctly every single time.
While the CLI is great for targeted changes, the real power comes when you manage entire fleets with EC2 Auto Scaling Groups (ASGs). To resize an entire fleet, you don't touch the instances directly. Instead, you create a new version of the launch template specifying the new instance type. Once you associate this updated template with your ASG, you can kick off an instance refresh. This process gracefully replaces old instances with new ones based on the updated configuration, rolling out the change across your fleet with minimal intervention.
In the past, an instance refresh meant terminating old instances and launching fresh ones. However, the ReplaceRootVolume strategy for ASGs allows you to replace just the root EBS volume of running instances while keeping the instance itself—and critical resources like its network interfaces—fully intact. This is a huge win for stateful applications or any workload where preserving network identifiers is non-negotiable. Beyond native AWS tools, you'll also find platforms and tools that eliminate the need for DevOps tasks by simplifying infrastructure management. For more targeted automation, an EC2 instance scheduler can resize instances on a predefined schedule, perfect for scaling down during off-hours to slash costs.
Resizing EBS Storage with Zero Downtime
Adjusting your instance's compute power is often just half the battle. Your storage needs to scale right along with it. Thankfully, the days of scheduling maintenance windows just to add more storage are long gone due to a feature called Elastic Volumes. It lets you modify the size, performance, and even the type of your attached EBS volumes while the instance is still running—no application downtime required.
Increasing a volume's size is pretty straightforward. Inside the AWS Console, you just head over to the EC2 > Volumes section, pick the volume you want to expand, and click Modify Volume. From there, you pop in the new size and hit apply. The volume's state briefly switches to "modifying" before returning to "in-use," which usually only takes a few minutes.
This is the last, crucial piece of the puzzle that catches a lot of people out. While AWS has handed over the extra storage space to your volume, the instance's operating system has no idea it's there yet. You need to connect to your instance and extend the file system to actually make that new space usable. For a Linux system, this usually means running a command like resize2fs. The exact command will depend on your specific file system and partition setup. We walk through this step-by-step in our guide on how you can expand a partition on Ubuntu.
Answering Your Top Questions About Resizing EC2 Instances
Even with the best plan, you're bound to have a few questions before you start resizing instances. If your instance boots from an EBS volume, all your data is perfectly safe during a resize. The stop-start cycle only swaps out the compute hardware; your attached storage disks are left completely untouched. However, if you're using instance store volumes, that storage is ephemeral, meaning any data on those temporary volumes is gone for good when you stop the instance. This is why creating a backup is non-negotiable.
Your instance's public IPv4 address will almost certainly change. When AWS stops and starts an instance, it grabs a new public IP from its dynamic pool. To keep a stable public IP, you must use an Elastic IP address, which will automatically re-attach when the server comes back online.
You cannot resize an instance to any other type. There are hard compatibility rules. The new instance must match the original's architecture (e.g., x86 to x86), virtualization type (HVM), and its AMI needs to support modern networking drivers like ENA to work with newer instance families. For cost optimization, you can schedule instance resizing. Tools built for this exact purpose let you automatically resize instances to a smaller, much cheaper type during off-hours, then scale them right back up before the workday begins. You only pay for high performance when you actually need it.
Ready to stop overpaying for idle resources? With Server Scheduler, you can automate the entire resizing process, scheduling instances to scale up or down based on your team's needs. See how you can cut your AWS bill by up to 70% at https://serverscheduler.com.